Wednesday 27 April 2011

My Final Online Website


JPSlattery Design : http://jpslatterydesign.onlinewebshop.net/

Hope you like :)

Finally Using Social Networks To Promote My Website

As i have linked my social networks up with my website i wanted to do it the other way round to advertise myself more.


This my Facebook info page, and as you can see from the image it is selected as my website.


This is my Twitter page and i also have my website address just below my name.

Publishing Website Online

Next was to publish it on an actual website:


Step 6: In our lessons we got told this website 'awardspace.com'. This is a a website where you can pay for your website to be online or do it for free and have the 'onlinewebshop.net' at the end of the address not .com or co.uk. I chose the free option for starters so after that i filled in my details and chose the name of jpslatterydesign, because it relates best to my website.


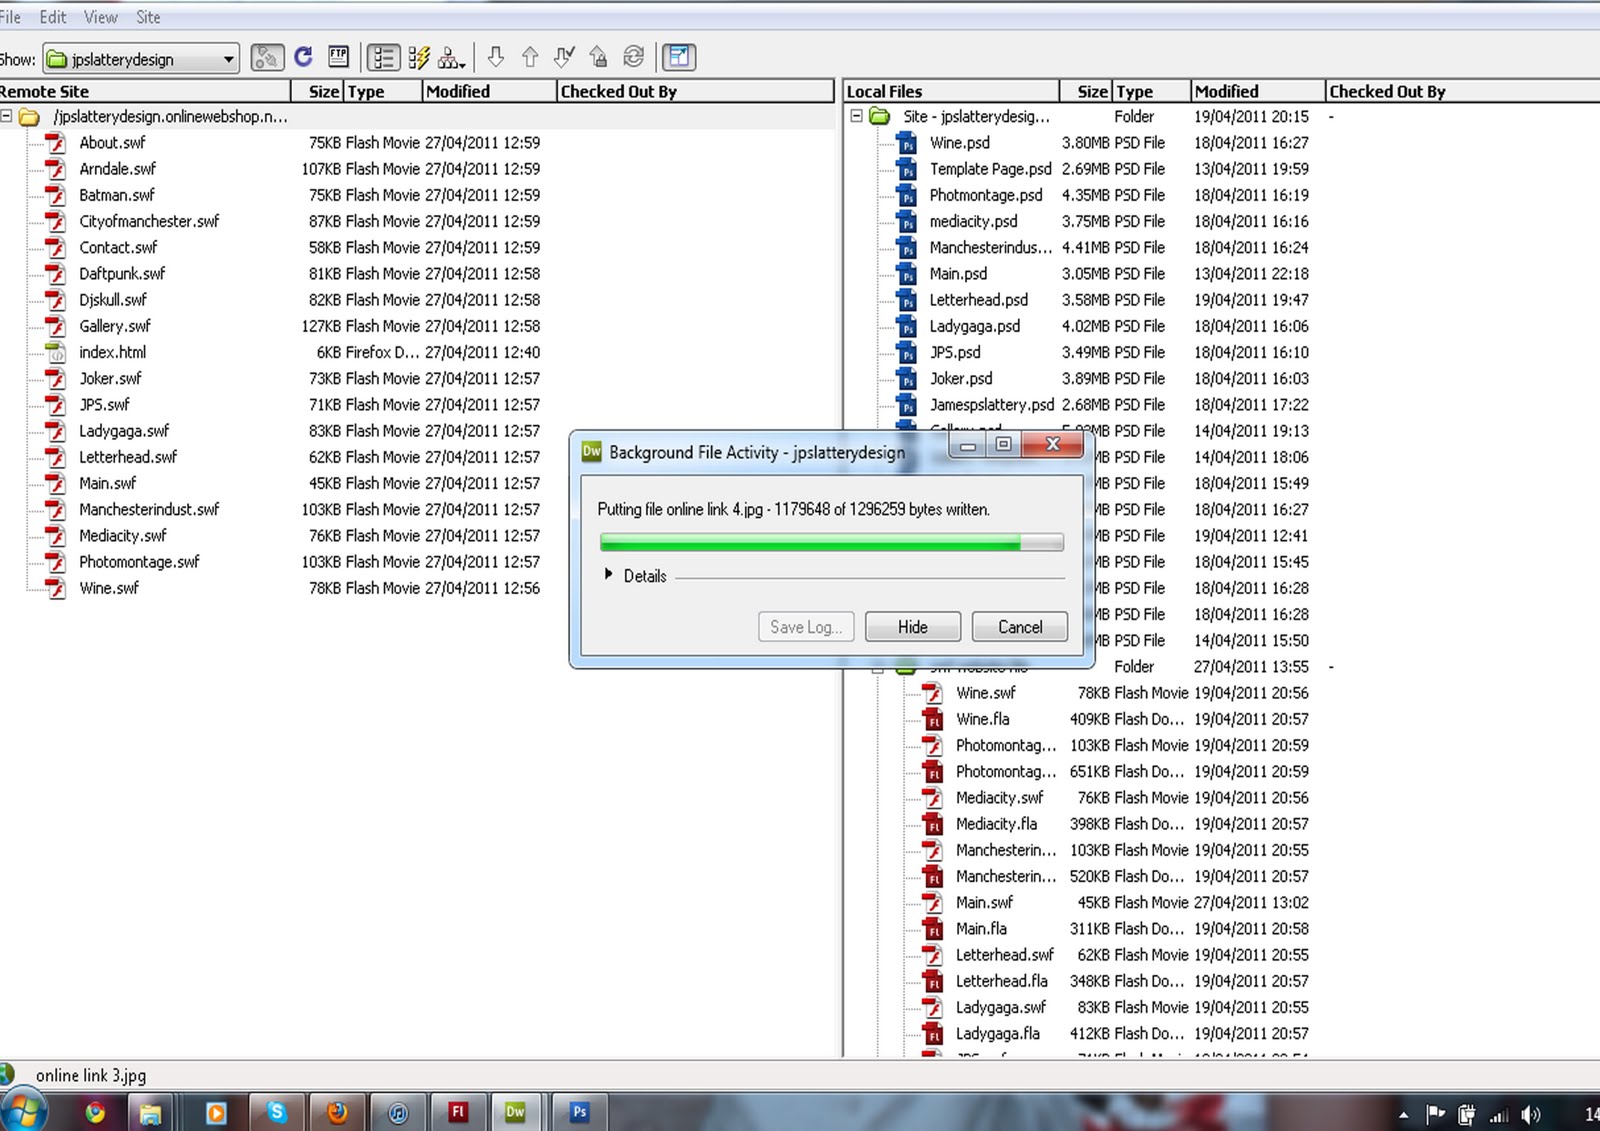
Step 7: Once that was completed, i had to go back on to Dreamweaver and activate all my SWF files for my website. So selected: windows - files - manage sites - new - site. I then clicked on the Advanced option and chose the folder with the SWF files in. I then clicked on Remote Info - Access: FTP. In the FTP host box i copy and pasted my website address in, I also did the same to the Host directory box. After that i had to place in my code i was given and my chosen password. I clicked on use passive FTP and the clicked the Test button.


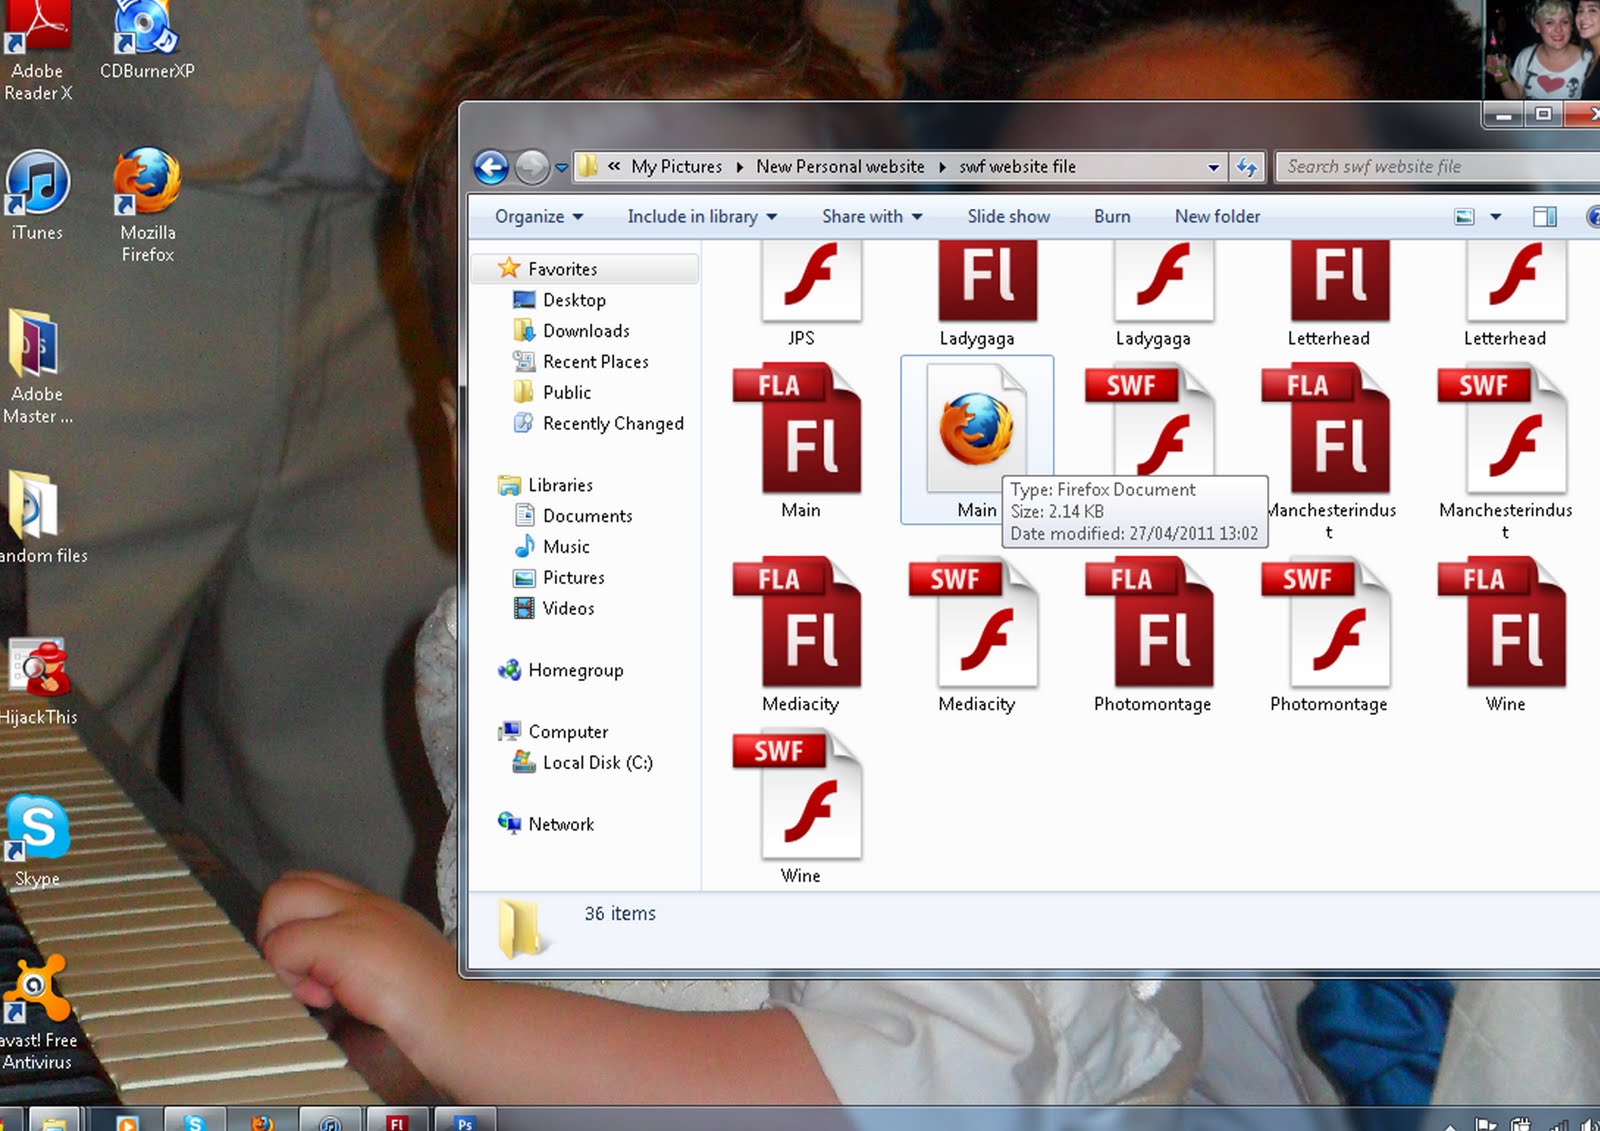
Step 8: Once that was done i selected the SWF files and my HTML file and dragged them to the left hand side.When that was completed i selected the files and pressed the arrow pointing up. I had a lot of problems with this as it placed too many files on that i didn't want, It took a while but i think i sorted it.


This is the image of my website actually posted with my own address.

Publishing Website Online

Next i had to open the HTML in Dreamweaver:


Step 5: I opened the HTML in dreamweaver and to make the website position right, i selected modify - page properties. After that i changed the options of the pixels:
Left: 0  pixels   Right: 0 pixels
Top: 0 pixels    Bottom: 0 pixels

Then i clicked OK


This is what it looked like after.

Publishing Website Online

The Next step is to publish my website online:


 Step 1: I need to publish it to start off, so i clicked on file then on publish.


Step 2: As i published my main page, i had to go on the file and see if it had placed an HTML option this being the firefox one above.


 Step 3: I had clicked on the HTML and this is what it had shown me. My website published.But it doesn't stop there.


Step 4: Next i wanted my webpage to be placed in the right position. S i clicked on file - publish settings, i then clicked on the HTML option.As you can see i changed the dimensions to percent and i changed the scale to no scale.

Problem

After finalising my website together, I was considering on putting music on my background of the website. I researched around a lot and decided as this was the first time i ever did a website it was all hard for me to do, so i decided to pass on that idea and carry on with publishing it.

Wednesday 20 April 2011

Linking The Social Networks (Facebook and Twitter) And Also Similar for Page Linking To My Website


Step 1: First i had to select the image of the Facebook logo and convert it to a button.


Step 2: I made sure i clicked on the Button option.


Step 3: Once that was done i clicked on to windows then Actions.


Step 4: I had to select get URL for the social network link, but for page link i select load movie.


Step 5: Is put the link in the URL box or in load movie box i would put the name of the image/page i would want and put .swf at the end.